News (click to select category)
Operation flow of fastener friction coefficient testing machine
Date:2026-05-12ID: 328Heat:
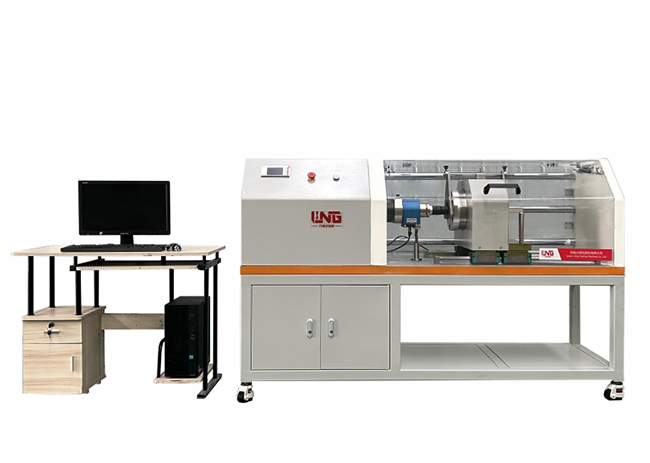
operating process
(A) boot preparation
1. Connect the host power supply (AC380V, which needs to match the rated voltage of the equipment), turn on the main switch of the power supply, and set it.
Ready to enter the standby interface.
2. Check whether the fixture is matched with the specification of the part to be tested. If not, replace the corresponding fixture, and make sure that.
Ensure that the fixture is installed firmly and without looseness.
3. Open the host computer and click the shortcut program "Thread Fastening Analysis System".
(2) Specimen installation
1. Put the bolt to be tested into the locating hole of the lower fixture, and rotate the fixture fixing knob to firmly fasten the bolt.
Clamping to ensure that the bolt axis is aligned with the axis of the tightening mechanism (to avoid eccentricity affecting the test results).
2. Put the matching nut on the bolt and screw it gently by hand to avoid the nut from being skewed; If the specimen needs
Apply lubricant evenly according to the test requirements before installation to ensure the same amount of application.
(3) Parameter setting
Select the test standard by pressing the "Set" button on the computer operation panel. According to the test standard (such as GB/T)
16823.3):
-Click "New" in the software interface, and fill in the basic parameters of the test such as sample batch number, part number, etc.
Number and parameter requirements of the tested sample!
-Tightening speed: set the tightening speed, mainly slow speed (adjust according to the specifications of the specimen to avoid rotating speed.
Too fast causes heat to affect the friction coefficient);
-Setting the tightening force: setting the tightening force required by the standard according to the specifications of the test bolt;
42. After the parameter setting is completed, confirm the connection of the tooling.
(4) Start the test
1. Confirm that the safety door is closed, and the operator should stay away from the moving parts, and click "Open" on the computer operation interface.
Start key, the equipment starts to run, and after reaching the target parameters, the tightening mechanism stops and the test data is automatically recorded.
2. After a single test, open the protective door, loosen the fixture and take out the tested specimen; If set
After many tests, the equipment will automatically repeat the above steps until the set number of times is completed.
(5) Shutdown process
1. After all the tests are completed, clean up the sundries on the surface of the host machine and in the fixture to ensure that there is no specimen residue.
2. Press the "Shut Down" button on the operation panel, and turn off the power after the screen shows "Please cut off the main power supply".
Source master switch, unplug the power cord (when it is not used for a long time).

Microcomputer controlled low temperature automatic impact testing machine
Microcomputer-controlled low-temperature automatic impact te...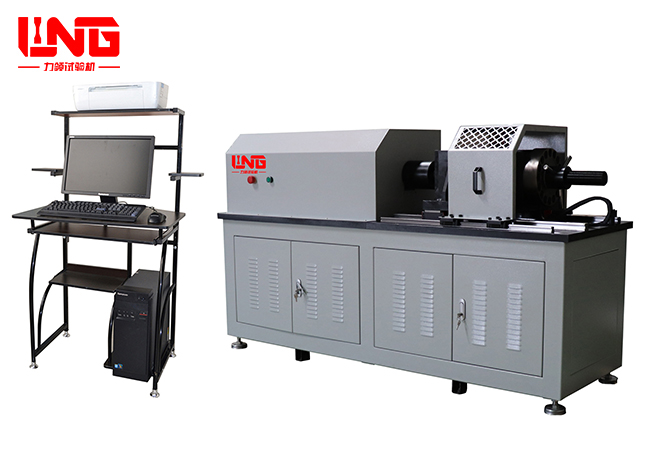
LJZ-1000P microcomputer controlled high-strength bolt tester
The LJZ-1000P high-strength bolt tester is a new type of bol...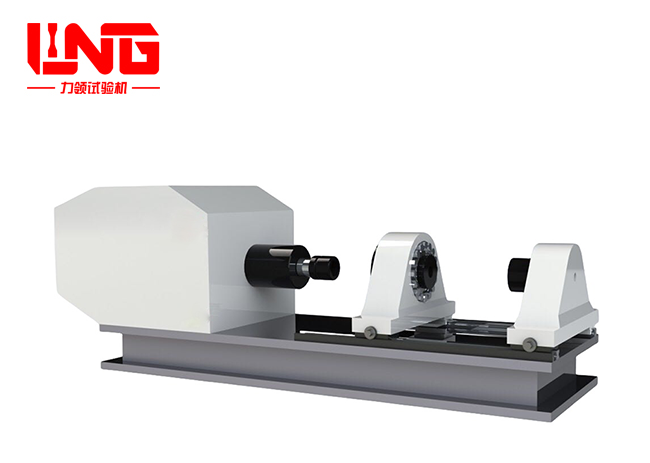
Fastener friction coefficient testing machine
Fastener friction coefficient tester mainly applies tighteni...
About LiLing
Product range
News
Contact LiLing
National Service Hotline:+8618660398828
Address:山东省济南市市中区魏华西路6号院内2号厂房


Business consultation (WeChat)
Technical Support: ChaoYueHuLian
Links: