News (click to select category)
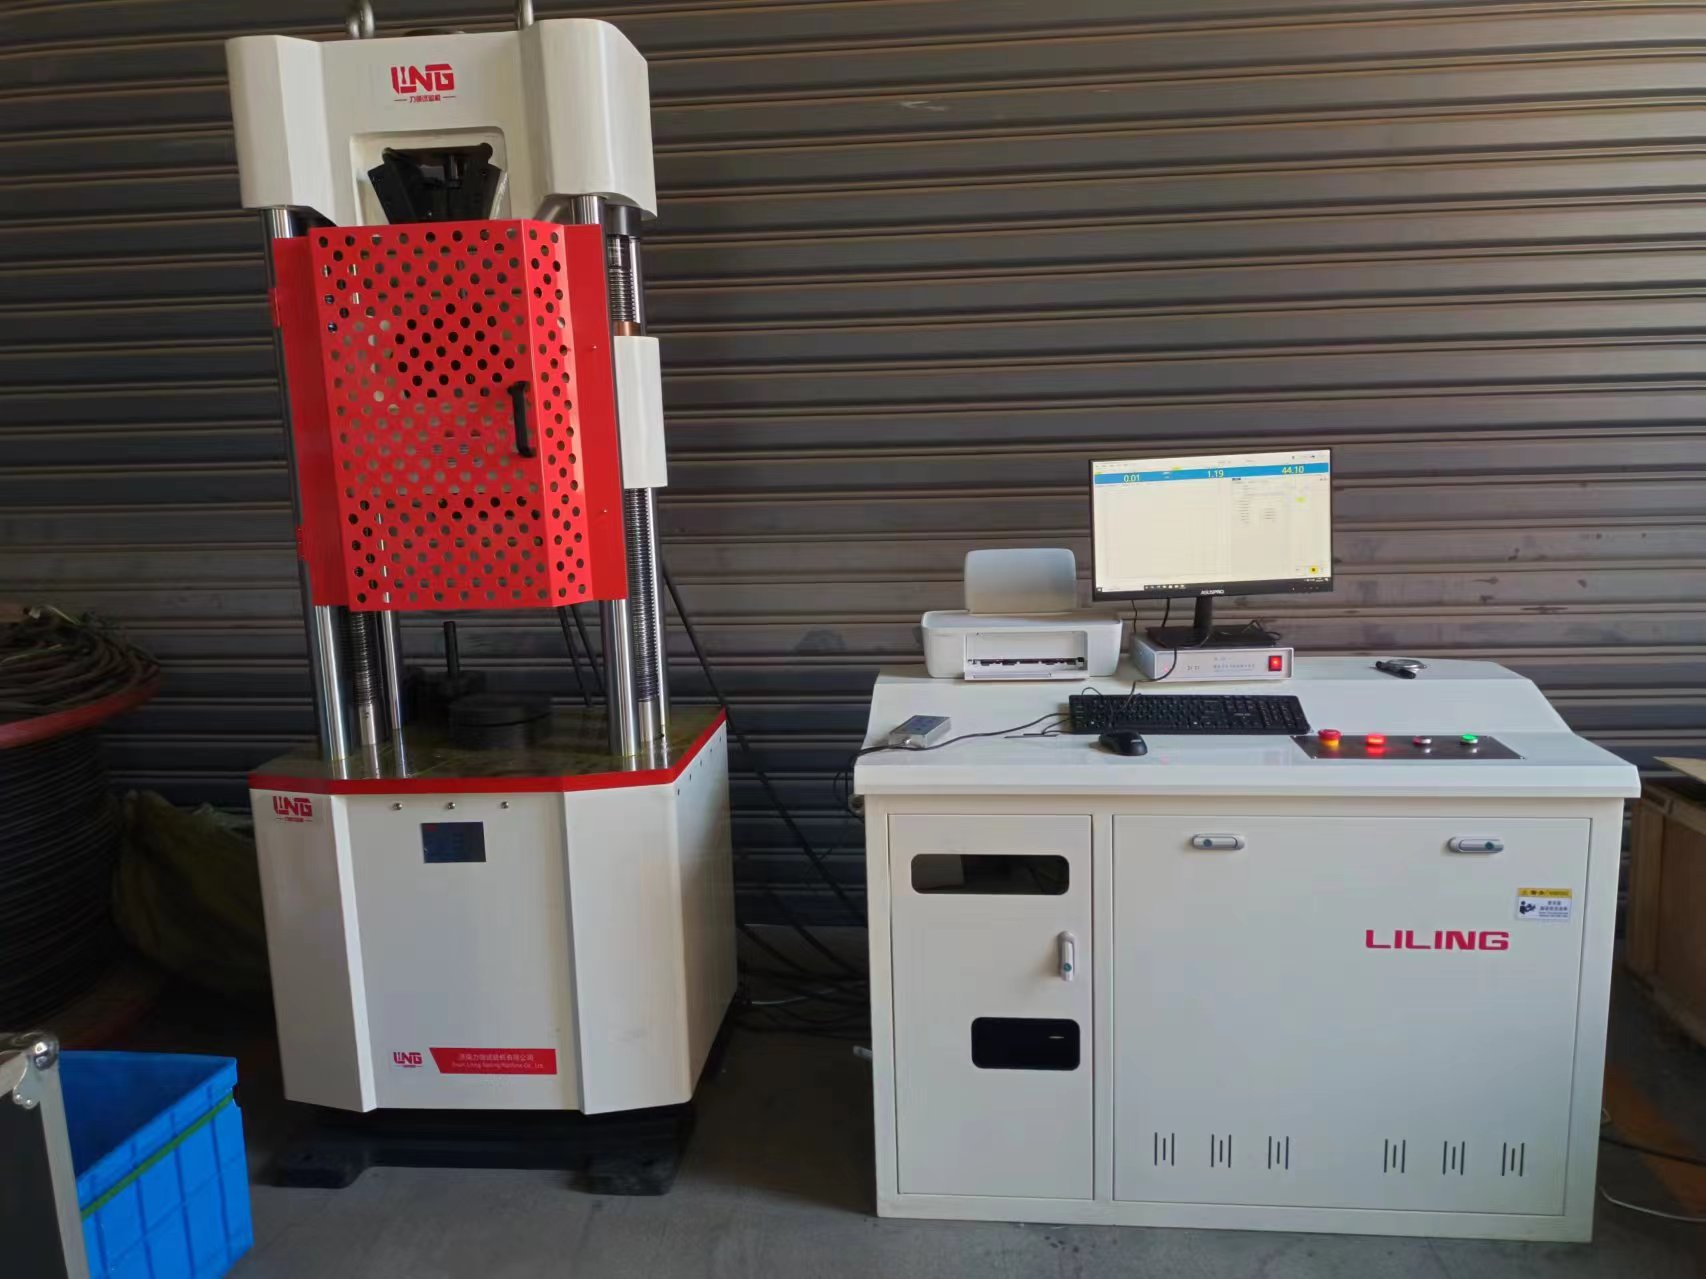
HAW-600D Universal Testing Machine - Operating Procedures
Date:2025-12-10ID: 271Heat:
Preparation before operation
1. Confirm the 380V three-phase power supply, correctly connect the oil source to the host and the oil source to the computer, and turn the emergency stop button clockwise (red button on the operation panel) after connecting the main power supply.
2. There is no damage or leakage in the hydraulic pipeline, and the motor, servo valve, and sensor are operating normally;
3. Press the up and down buttons respectively, observe whether the crossbeam rises and falls, and whether the direction is consistent with the actual one (if not, you need to switch the two wire ends of the 380V power supply), and adjust the height of the crossbeam.
4. Press the oil pump start switch, run for 2 minutes, then turn off and observe if the workbench rises. Raise approximately 1-2 centimeters and close, then return the workbench to its original position.
If the workbench does not rise, there may be several reasons:
A: No hydraulic oil or too little;
B: There is an oil leak in the oil circuit;
5. Open computer software
Observe whether there are numerical values for load and displacement in the software to determine the connection. If there is no display, please check the connection (interface between load sensor and displacement sensor).
6. Personal protection: There are no unrelated personnel in the testing area. A safety cover should be closed for tensile testing, and sufficient buffer space should be reserved for compression testing.
Operation steps
After the trial run, if everything is normal, the test can be carried out. The test operation process is as follows:
1. The oil pump starts, and the workbench rises about 1-2 centimeters. Close the workbench and return it to its original position.
2. Press the up and down button, adjust the position of the clamp to a convenient location for testing or gripping the sample, then clamp one end of the sample, reset it to zero, and clamp the other end;
3. Select the testing standard for the testing machine software, fill in the data board, click the reset button to reset all data to zero, and then click the software "Start" to start the experiment. The speed during the experiment can be controlled by a computer. After the experiment is completed (i.e. when the sample breaks or meets the test requirements), click "stop", and the required data in the software will be automatically generated (see the electronic software manual for software operation details);
4. Turn on the oil pump switch to restore the workbench to its initial state, and the test is complete.
Shutdown and Cleaning Maintenance
1.After the experiment is completed, operate the crossbeam to return to its initial position, unload the fixture, close the test control software, turn off the oil pump switch and computer software in sequence, and disconnect the power supply.
2. Equipment cleaning: Wipe the fixtures, workbench, and crossbeam with a dust-free cloth to remove sample debris and oil stains; The clamping surface of the fixture can be coated with a small amount of anti rust oil, and the hydraulic pipeline joints should be checked for leakage.
3. Data archiving: Export test data and curves, organize test reports, and fill in equipment operation records (test type, sample information, equipment status, test quantity).
4. Daily maintenance: Cover the dust cover of the equipment, regularly check the hydraulic oil level and purity, supplement the same type of anti-wear hydraulic oil (No. 46) if insufficient, and regularly calibrate the sensor accuracy.
Safety and taboos
1. Overlimit testing is strictly prohibited, and touching the sample, fixture, and moving parts during the test is strictly prohibited. The equipment cannot be started when the protective cover is not closed during the tensile test, and illegal operations are strictly prohibited.
2.If there is any abnormal noise, vibration, data abnormality or equipment alarm during the loading process, immediately press the emergency stop button, cut off the power and contact professional personnel for maintenance. It is strictly prohibited to turn on the machine until the fault is eliminated.
3. The installation and replacement of fixtures must be carried out with power off. After installation, the coaxiality needs to be calibrated to avoid sample displacement and uneven equipment damage during loading.
4. Non professional operators are strictly prohibited from starting up, adjusting servo parameters, or disassembling core components of the equipment (servo valves, sensors, etc.) without authorization. New operators must receive on-site guidance from a dedicated person.
About LiLing
Product range
News
Contact LiLing
National Service Hotline:+8618660398828
Address:山东省济南市市中区魏华西路6号院内2号厂房


Business consultation (WeChat)
Technical Support: ChaoYueHuLian
Links: